Showing posts with label T-shirt Recon. Show all posts

11 July 2014

Braided Cut-Out Tank

Florida summers alternate between daily downpours and sweltering heat. To deal with the latter, I decided to cut up an old tee! I re-visited this DIY summer tee Buzzfeed article. Here's the braided back tank I used for reference:

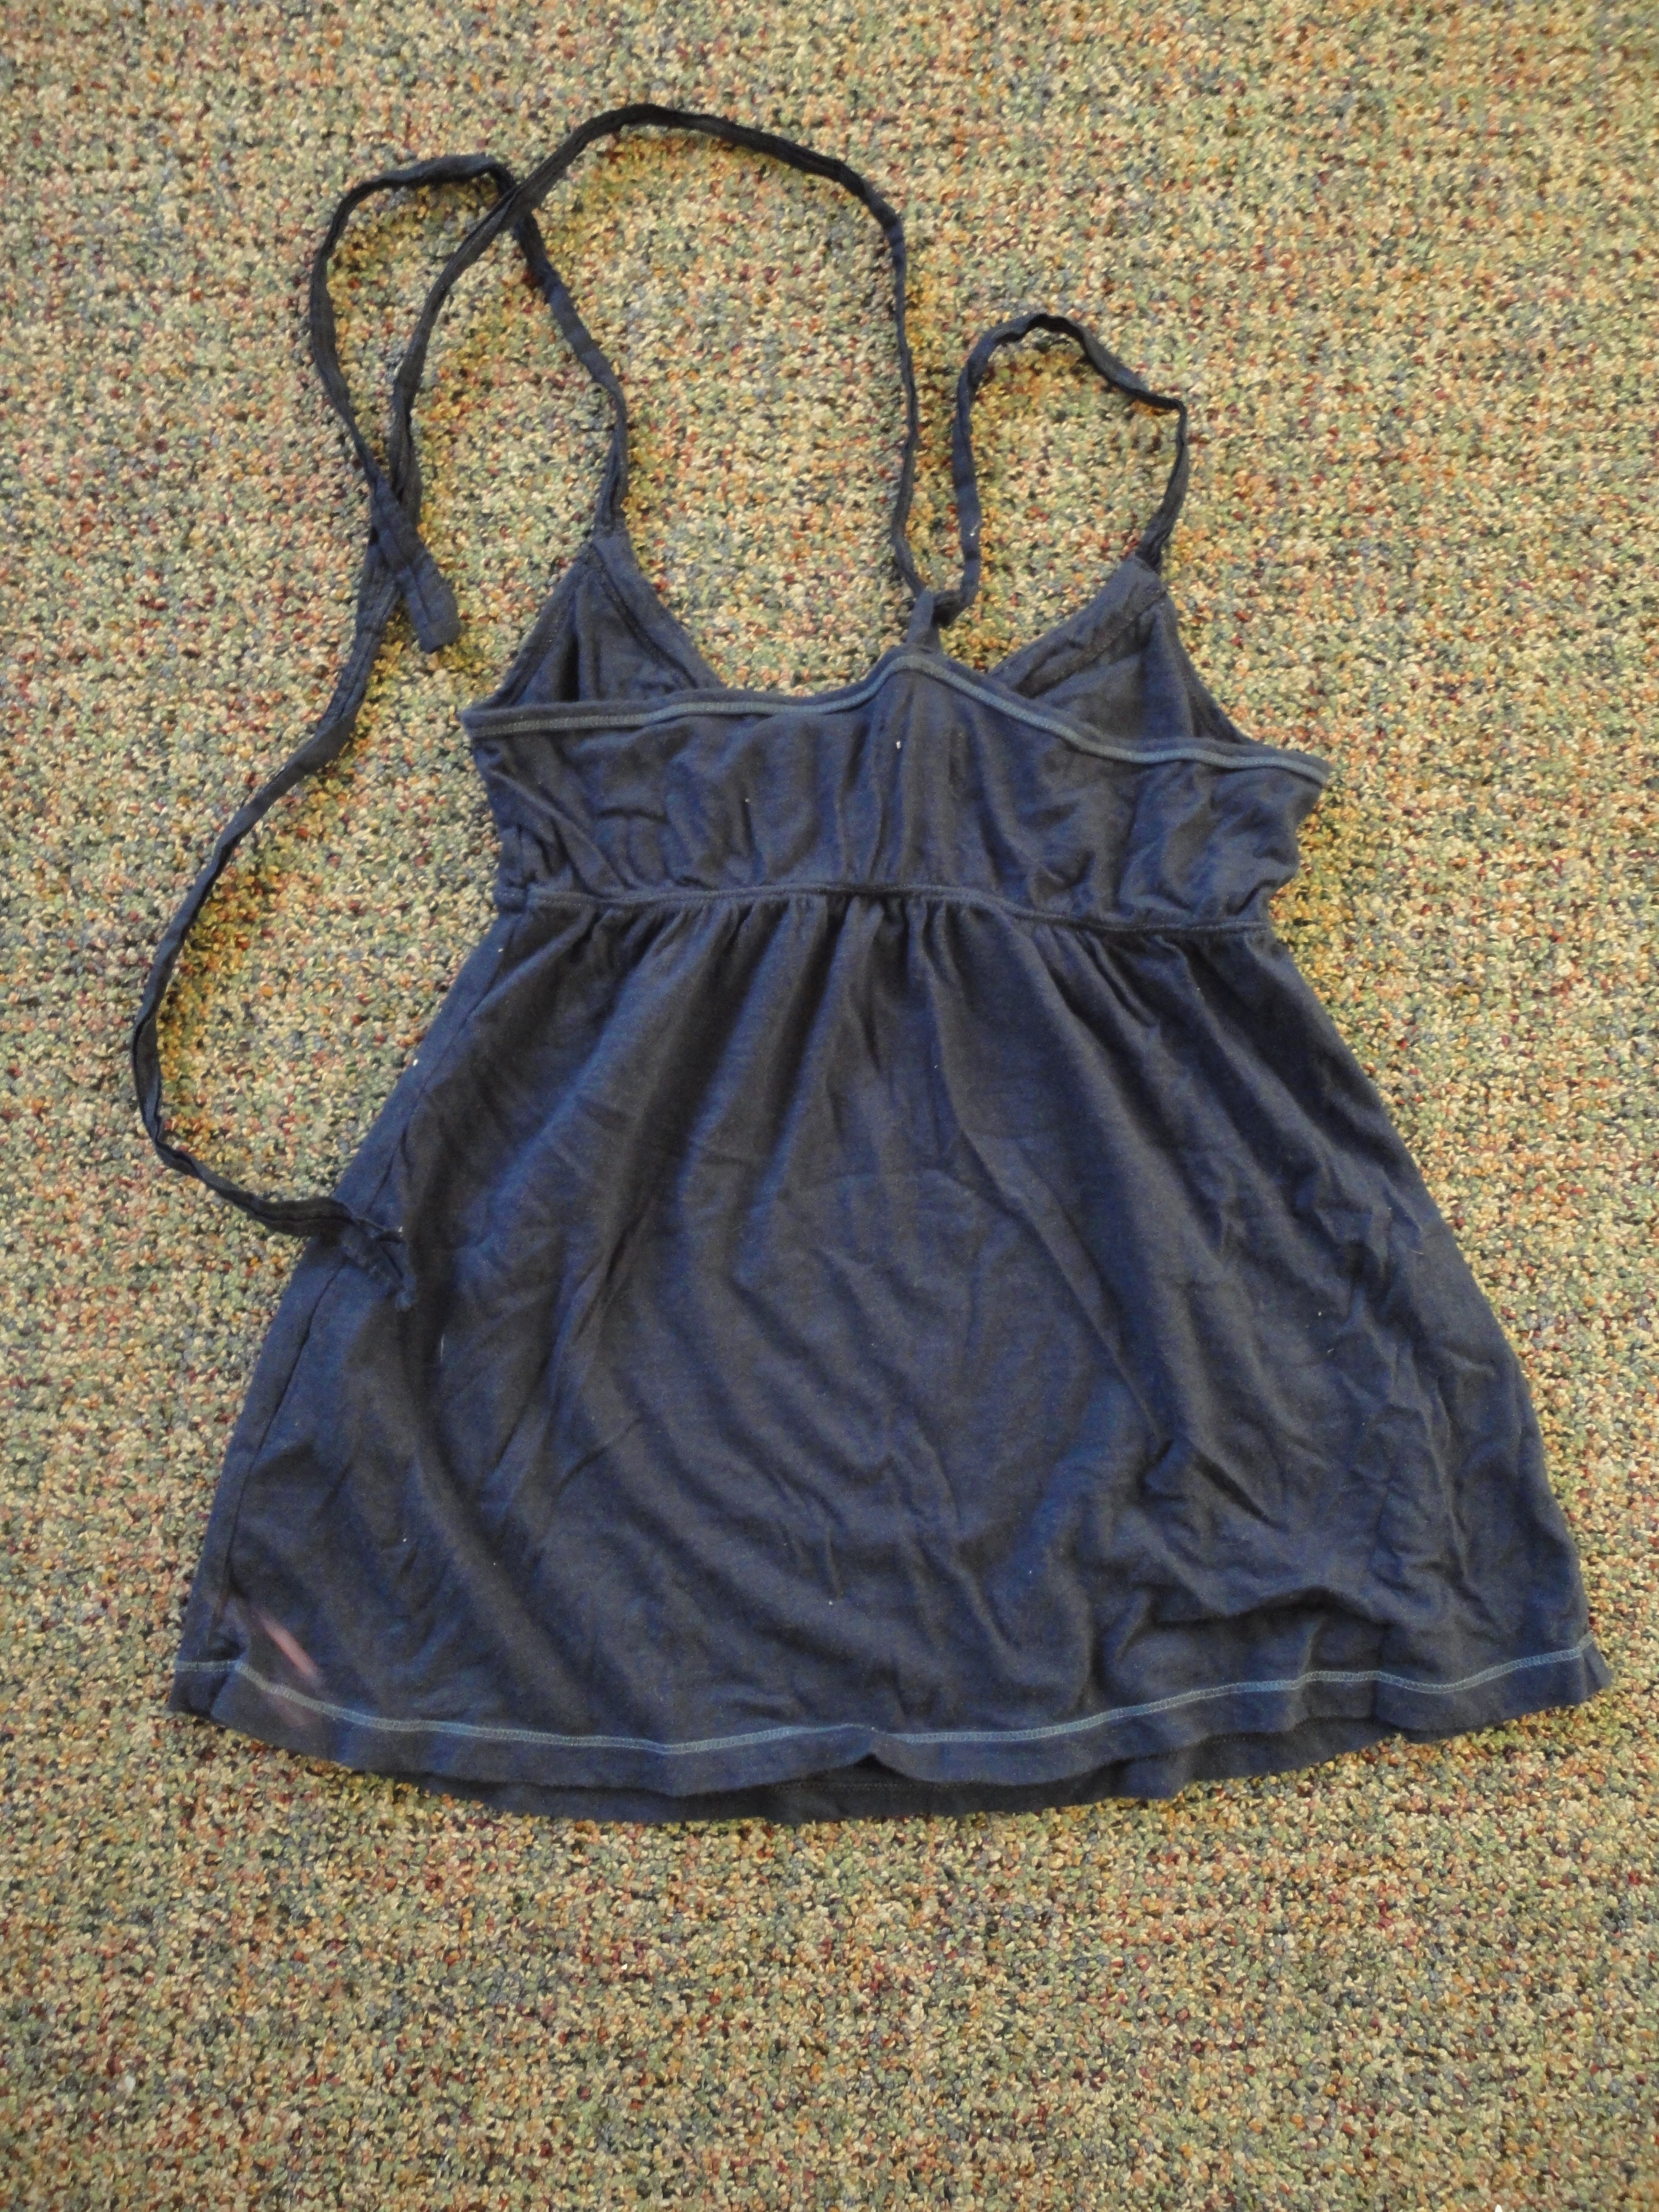
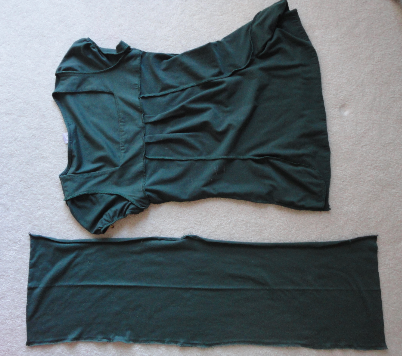
The shirt I used was too small for me resulting in a bottom panel didn't drape well...so I chopped it off. End result was a slightly more revealing tank than I wanted, but perfect for the beach! 


05 April 2014

Work it Out!


I came across old t-shirts and decided to make them into workout tanks with inspiration by BuzzFeed's Summer T-Shirt DIYs. One of my future projects will definitely be the crochet back shirt (#25).

Original shirts (both from Threadless)


After some scissor, tying, and/or sewing action...


Best part of t-shirt recon? You don't need to really finish any of the seams! Unless you want to, of course.  

EDIT: Shirt in action (at the beach!)

06 January 2012

Merry Christmas and Happy New Year!

Over my christmas break, I had a couple weeks to rest and relax [AKA babysit and take a family roadtrip.] Fortunately, I had a couple days to sew and crochet so here's what I made!

For my mom and a friend, I made a linen grocery tote.


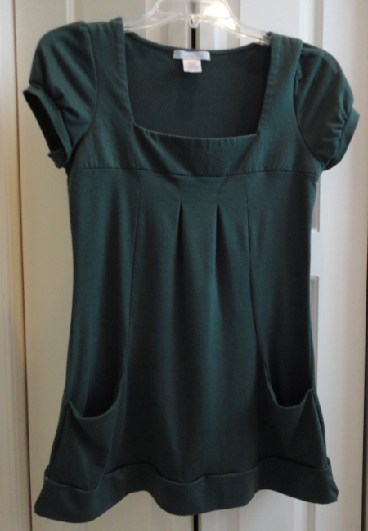
Then I fashioned myself a shirt after getting inspiration from Etsy.com. I used the same concept as when I made a version of the ruffle J. Crew shirt by buying a larger-than-my-size long sleeved shirt and then using the sleeves as extra fabric to make the ruffle.


Since this is the first week back to classes, I'm taking advantage of the little time I have free to sew as much as I can-especially since the projects I am working on are supposed to be Christmas presents. >.< So far on this wonderful Friday evening, I have made my friend a ruffle vest and will soon start on her le sac dress.


It feels good to be back at my sewing machine. It's been gathering dust for too long! Maybe a resolution for this year [aside from the obligatory "start exercising!"] should be to make something at least once a month. So far, so good :D


Happy 2012!

25 May 2011

SPACE!


Band shirt & old t-shirt a friend gave me

+


inspiration

=


rockin' t-shirt dress!

29 March 2011

Bad planning?

The temperature fluctuates a lot here, so I planned on making a 3/4 sleeve tee. I was going to combine these two shirts to make a baseball tee...


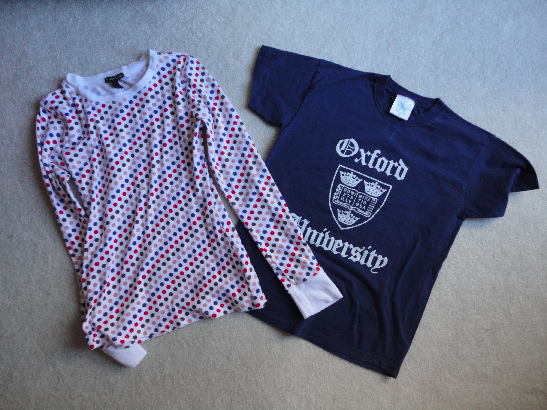
...but after chopping off the sleeves of my shirt, I was lost. I quickly realized that the polka dot sleeves would need to be wider to make a baseball-styled sleeve.


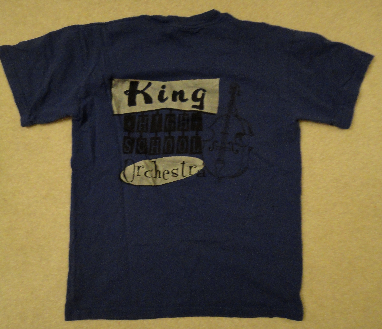
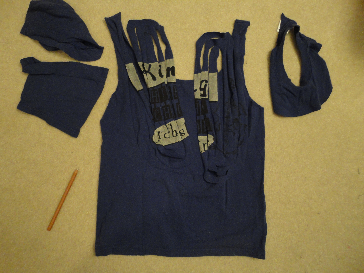
So what to do with a sleeveless shirt like this?


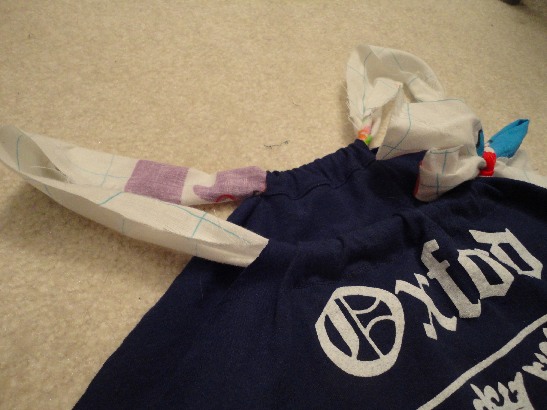
Fold in the upper portions to make tubes and sew, of course! I also revisited the Sesame Street fabric [from my Asian New Year project] and cut out a strip to make the straps of the new tank. Thread those through the tubes and BAM!


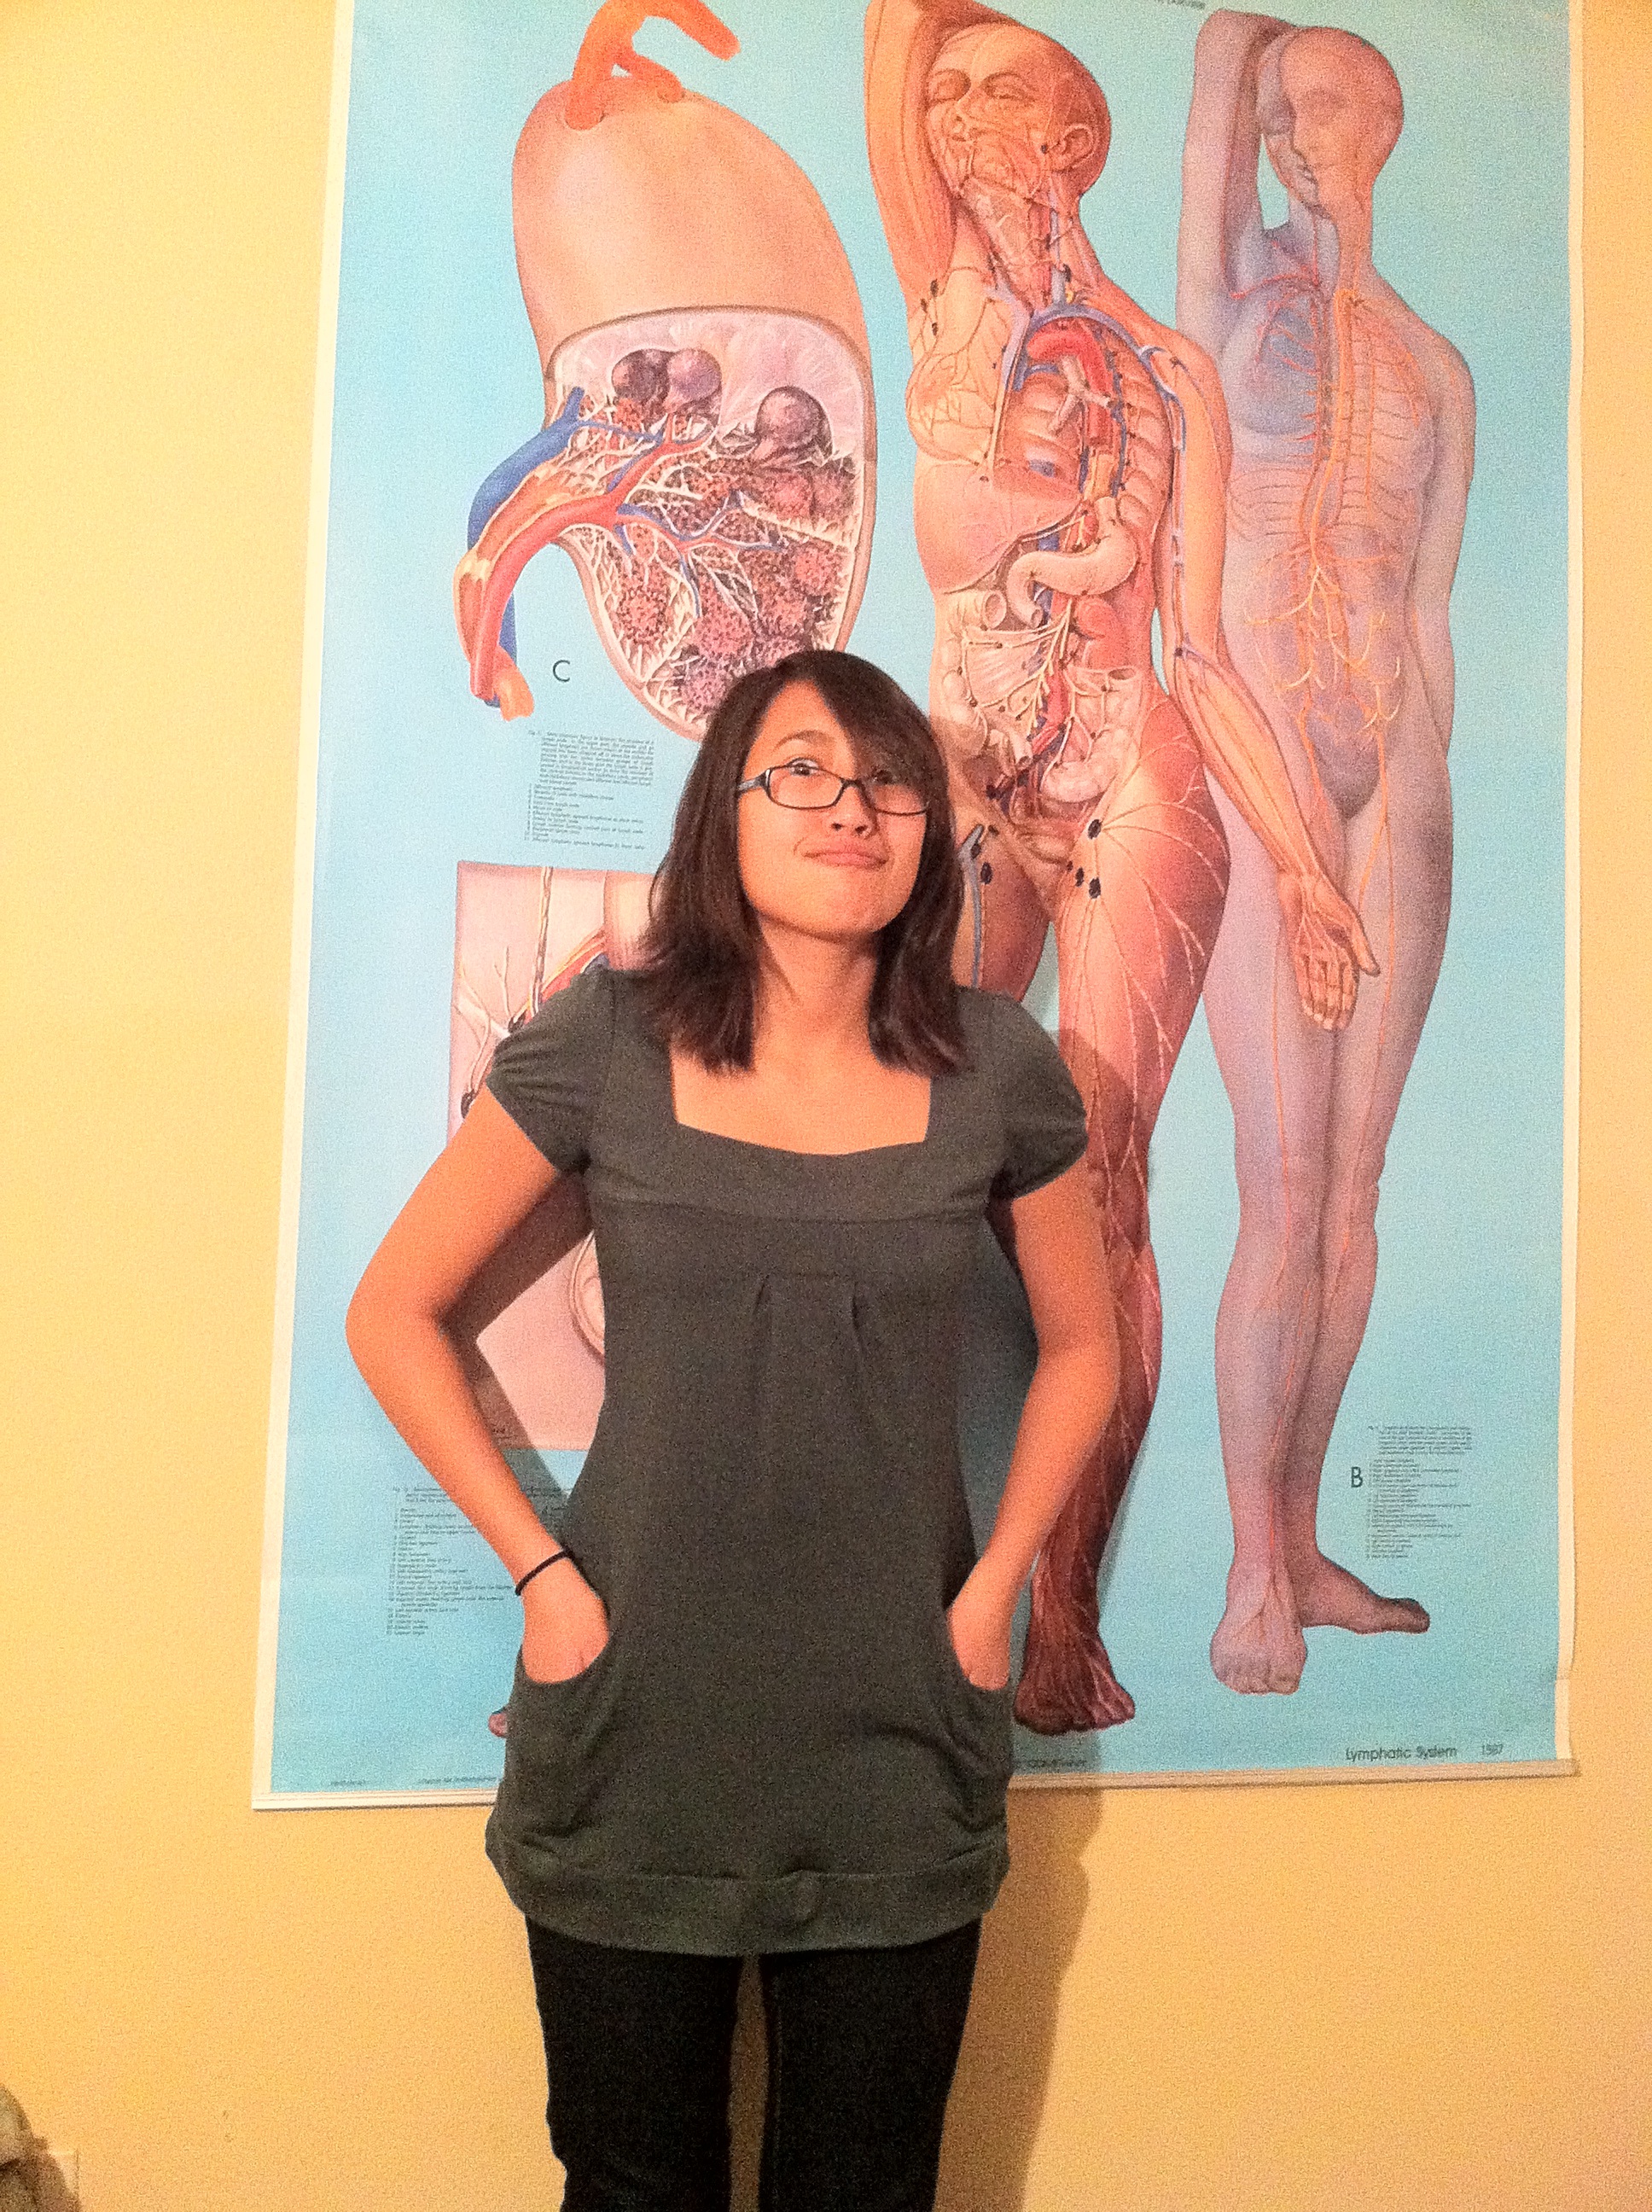
New tank top for the now ridiculously hot weather...but not really. When I checked the weather this morning, it was high of 83 :] SCORE!


Except it was rather windy outside...


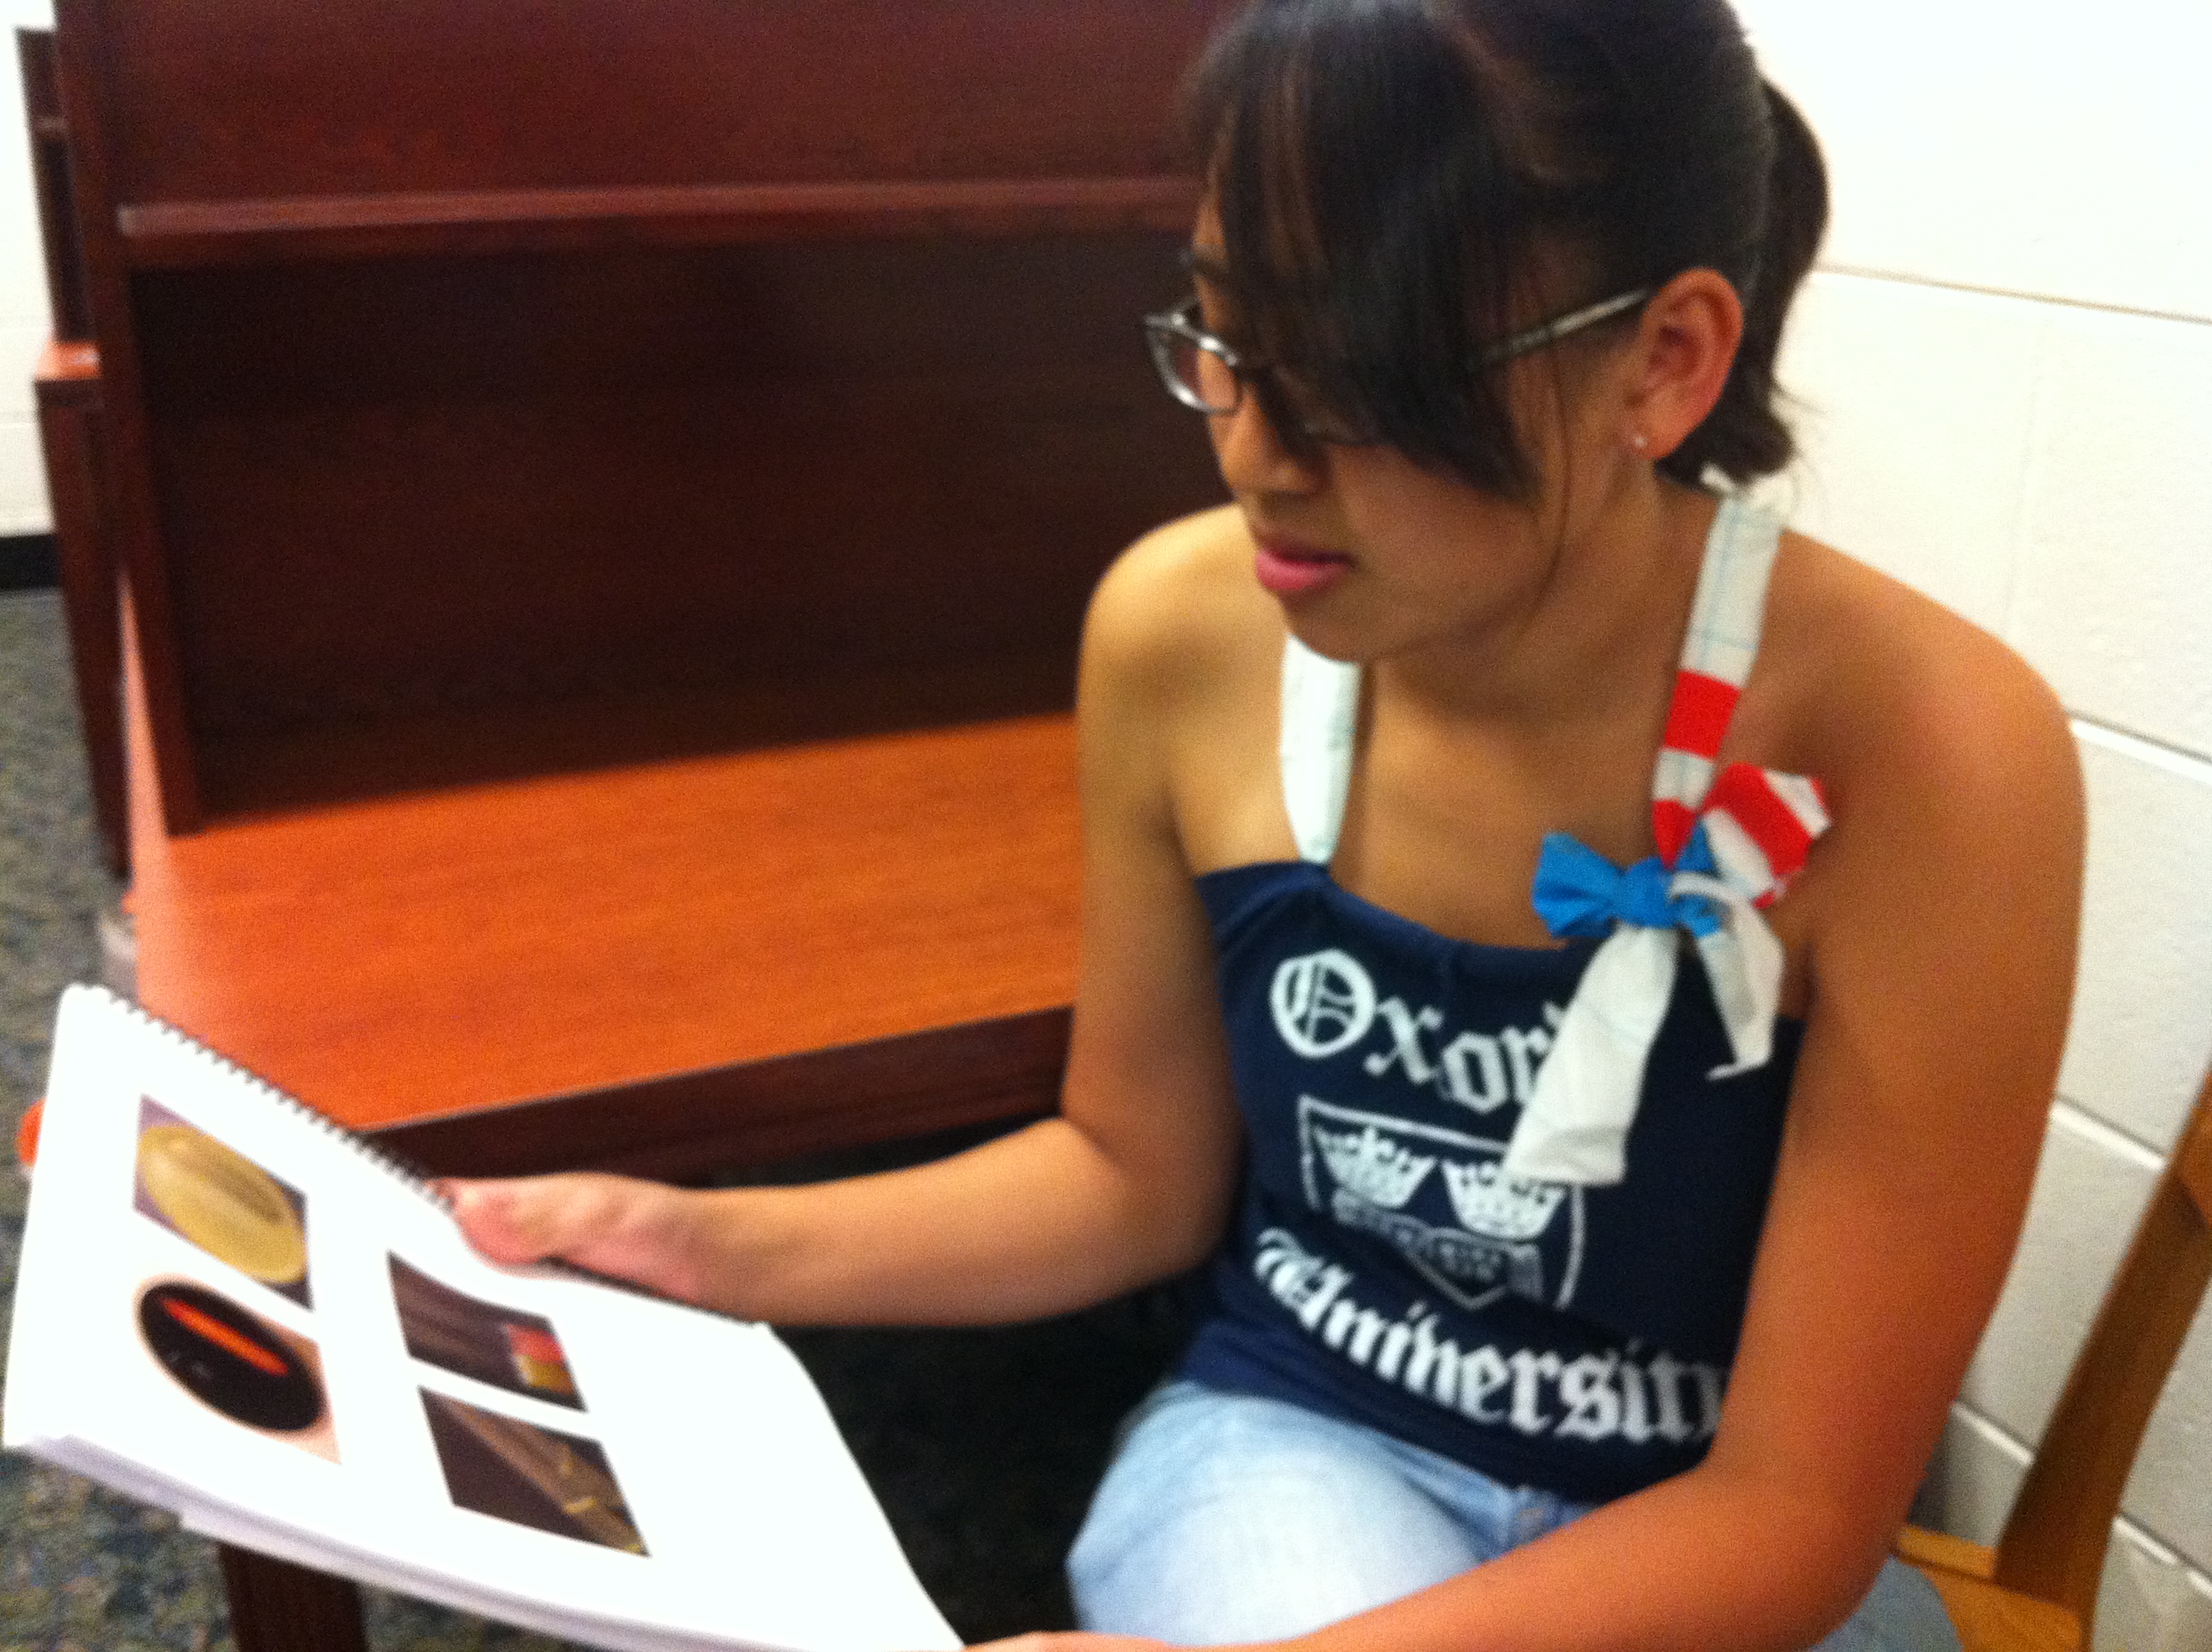
But luckily winds don't penetrate into the library. Yay for uninterrupted studying!


Side note: My microbiology professor states, "All great scientists have pictures of themselves staring intently at something."


Case in point: Joshua Lederburg & Edward Tatum


[If only I had real agar plates handy...]


25 March 2011

More Ruffles!

Like last week, I was in a ruffled shirt mood, so after searching google on ruffle shirts last week, I had a few sites bookmarked.


This Homemade J Crew tutorial looked really simple and, lucky for me, I had a long sleeved shirt handy. When looking at the real J Crew shirt, I saw that the ruffles extended on the collar so I decided to follow that instead of the tutorial--I just thought it looked odd not attached to the top of the tee :P


P.S. This works better when you use a well-fitted tee since the ruffle makes the front heavier. The shirt I used was made to be loose so the front sagged and looked weird with the addition of the ruffle. Simple solution: take in the sides to make it a tighter fit using pre-existing tee as a template.

P.P.S. I forgot to take a picture of this shirt when I was out and about so the lighting is so-so.

----EDIT----
I did have a picture of me out and about. I watched a film from the Gasparilla Int'l Film Fest at a fancy movie theatre, CineBistro. Lighting is still meh, but I must share because that chocolate cake was DELICIOUS!


Happy Friday!

15 March 2011

Experimenting with Ruffles!

I've been seeing a lot more ruffly shirts these days and decided to create one of my own...and let me say that searching for "ruffle shirts" on Google is not a good idea. I was a bit overwhelmed. Luckily, I remembered that I found a ruffled shirt that I really liked recently while perusing Free People Clothing.


Nice and simple, right?


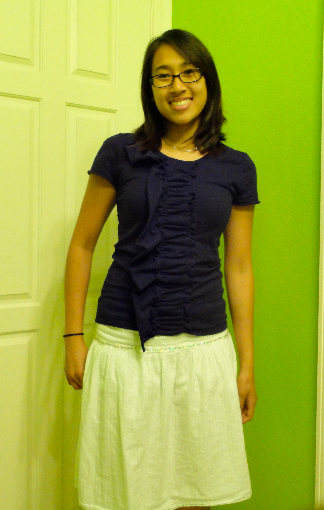
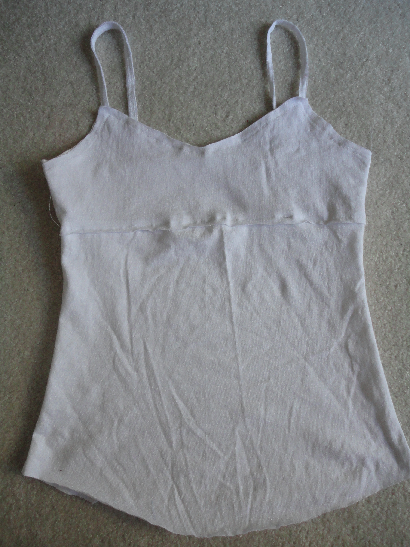
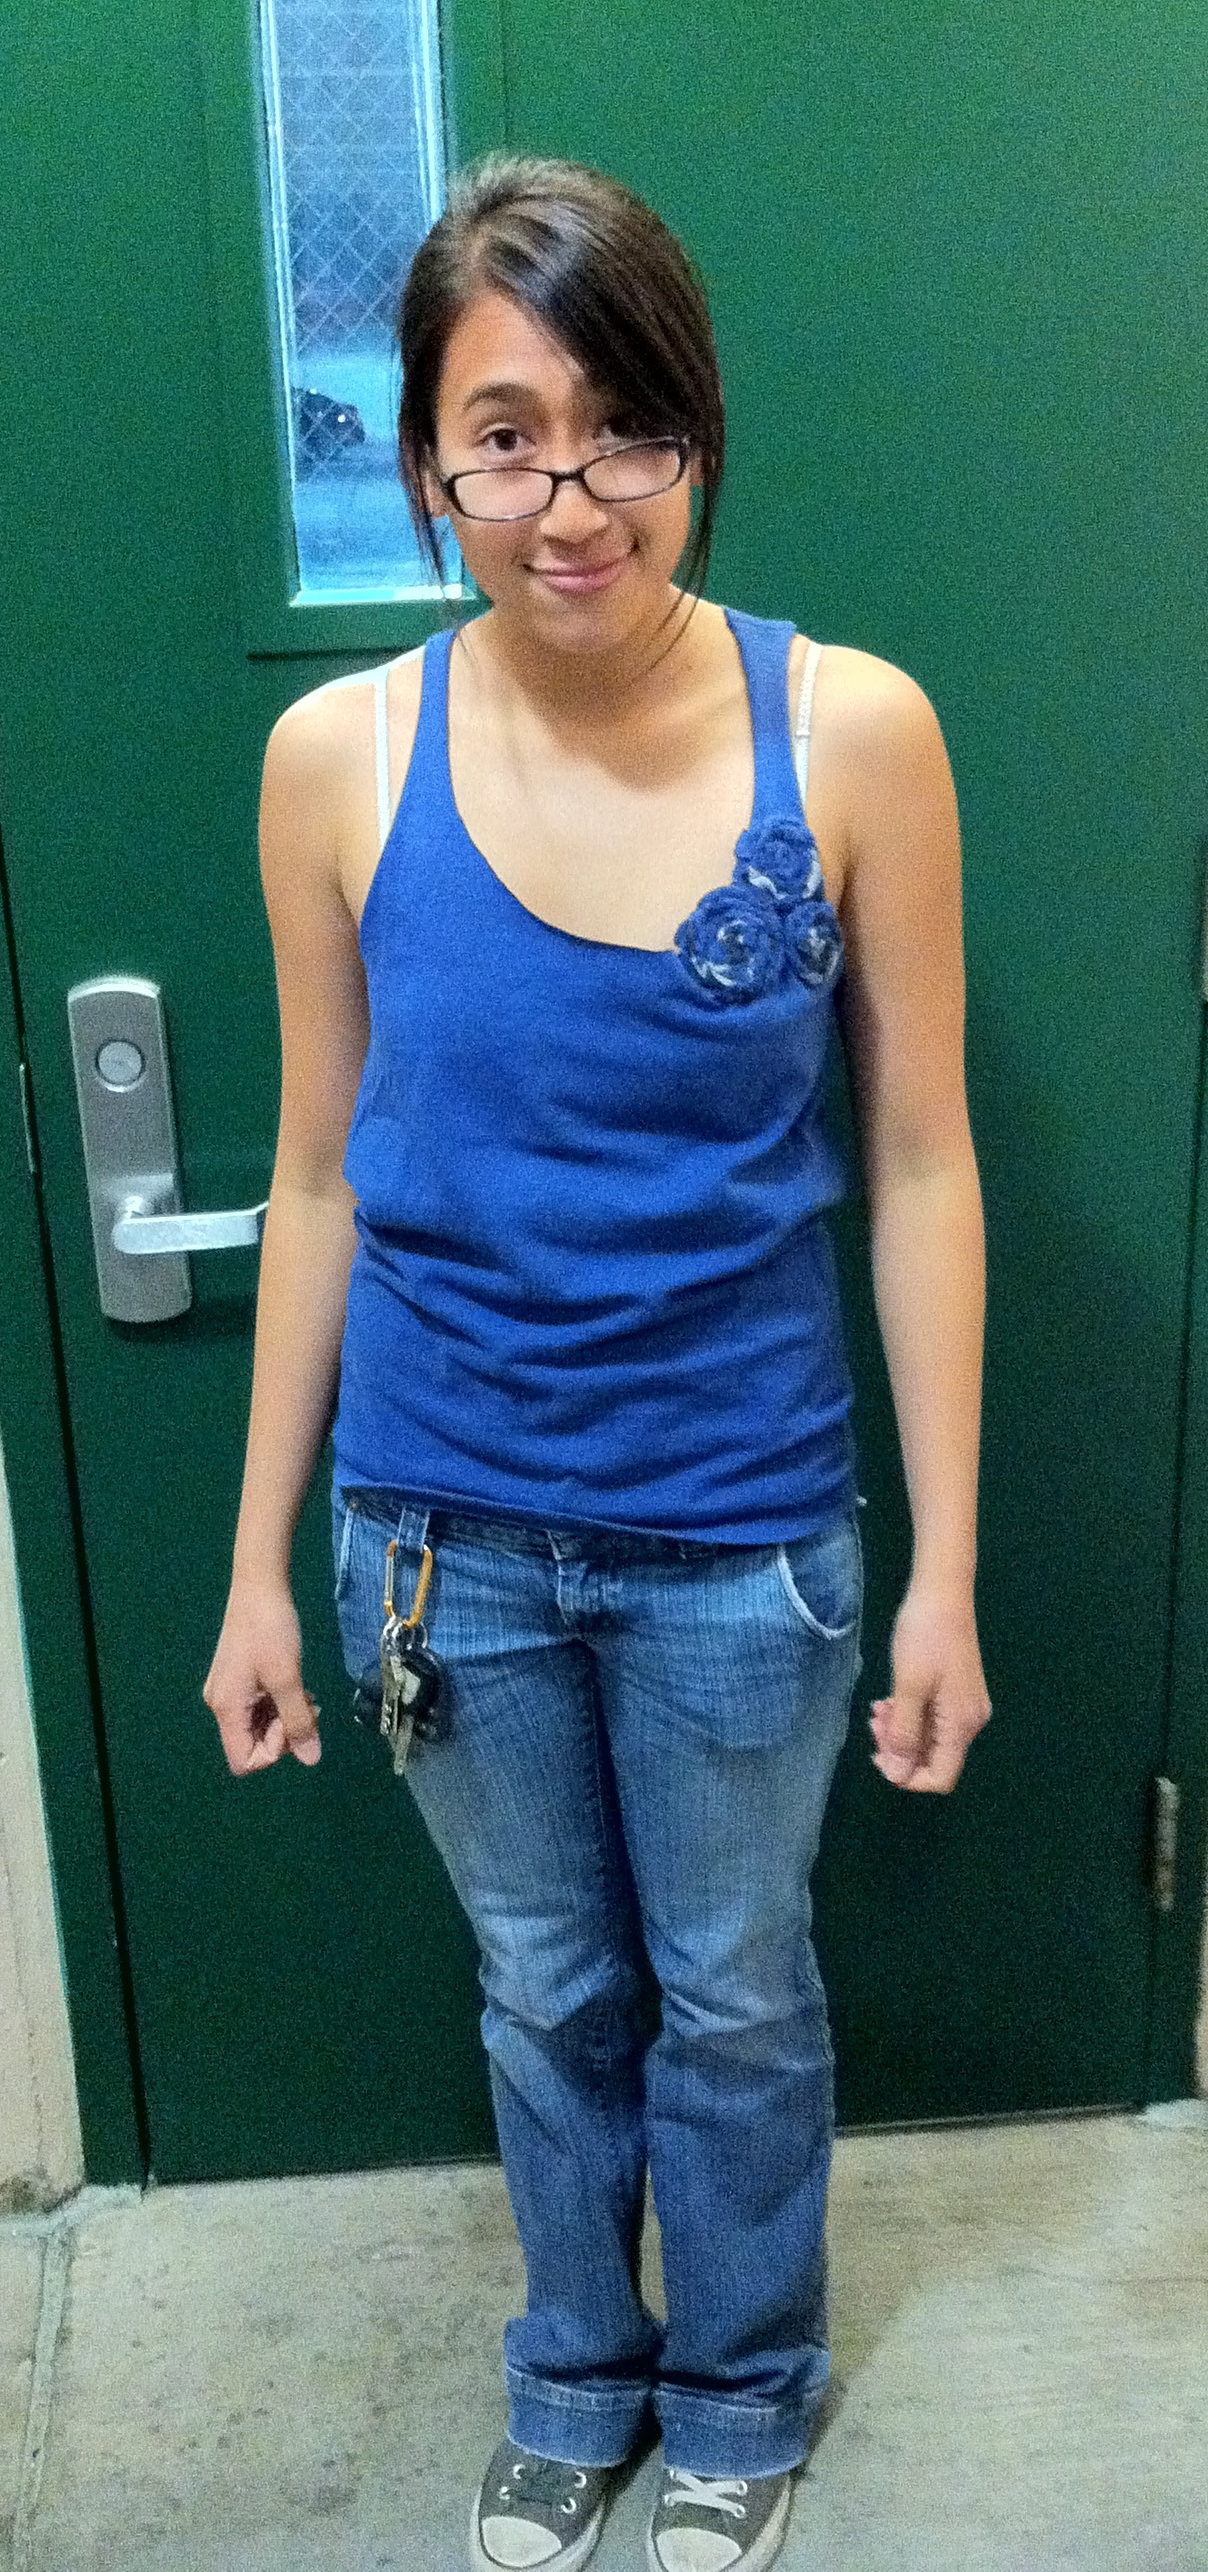
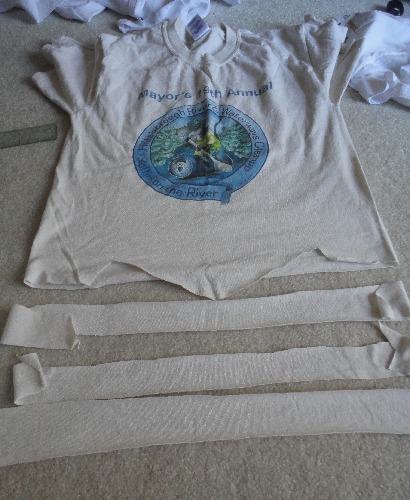
It would have been if I had a tank top handy. Unfortunately, I had to make my own. I used an existing camisole as a template and sewed up a quick tank top using the bottom of two white shirts.


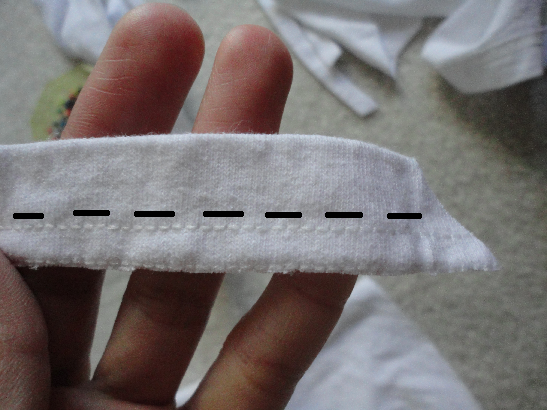
I used the bottom of the shirt to make the straps by cutting on the dotted line.


I made the ruffles from cutting ~1 1/2" strips of fabric out of a cream shirt. I made the strips ruffly before placing them on the tank , pinned, and sewed! In the midst of sewing, I didn't look back at my original inspiration so it turned out a bit different.


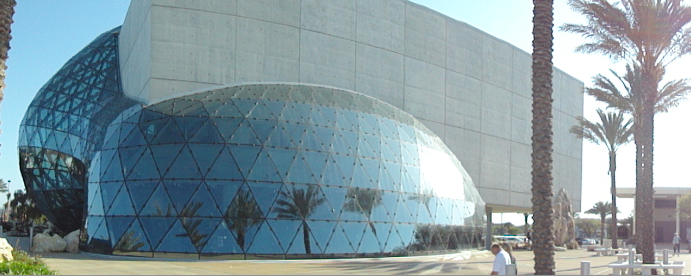
Either way, I was pretty happy with the result, especially since I finished just in time to go to the Dali museum! The outside looks really cool...


...but the inside looks even better!


Spiral staircases are the best :]


05 March 2011

Birdies go Tweet

Don't you just hate it when you buy a shirt and it shrinks in the wash? Yea, me too. I bought this shirt a few years back and after one wash, it was definitely not wearable.


The design was so cute I couldn't part with it, so to the back of the closet it went…until now. For this project, I really had to brainstorm. I was thinking of making a tank top by incorporating a brown shirt, but I had no idea what type of tank top I wanted. I was thinking of making a racerback tank, but realized that with such a tiny shirt, there wouldn't be enough fabric. I needed some advice. So, I went to my fashion-savvy friend Melinda and she pulled out a bunch of different tops she had until we found one that I could use as a template.


So…to the reconstruction!

This post will be a bit more extensive explaining what I did since I just cut and sewed with a semi-formed idea of how the end product would look. 

16 February 2011

Hearts Galore! [Part 2]

So, what did I do with the pink heart-filled tank I found in my closet? Well, the shirt was much too short on me so I found another shirt in my closet [donated by my friend Patrick] and fused them!

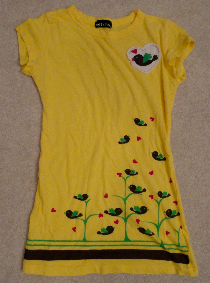
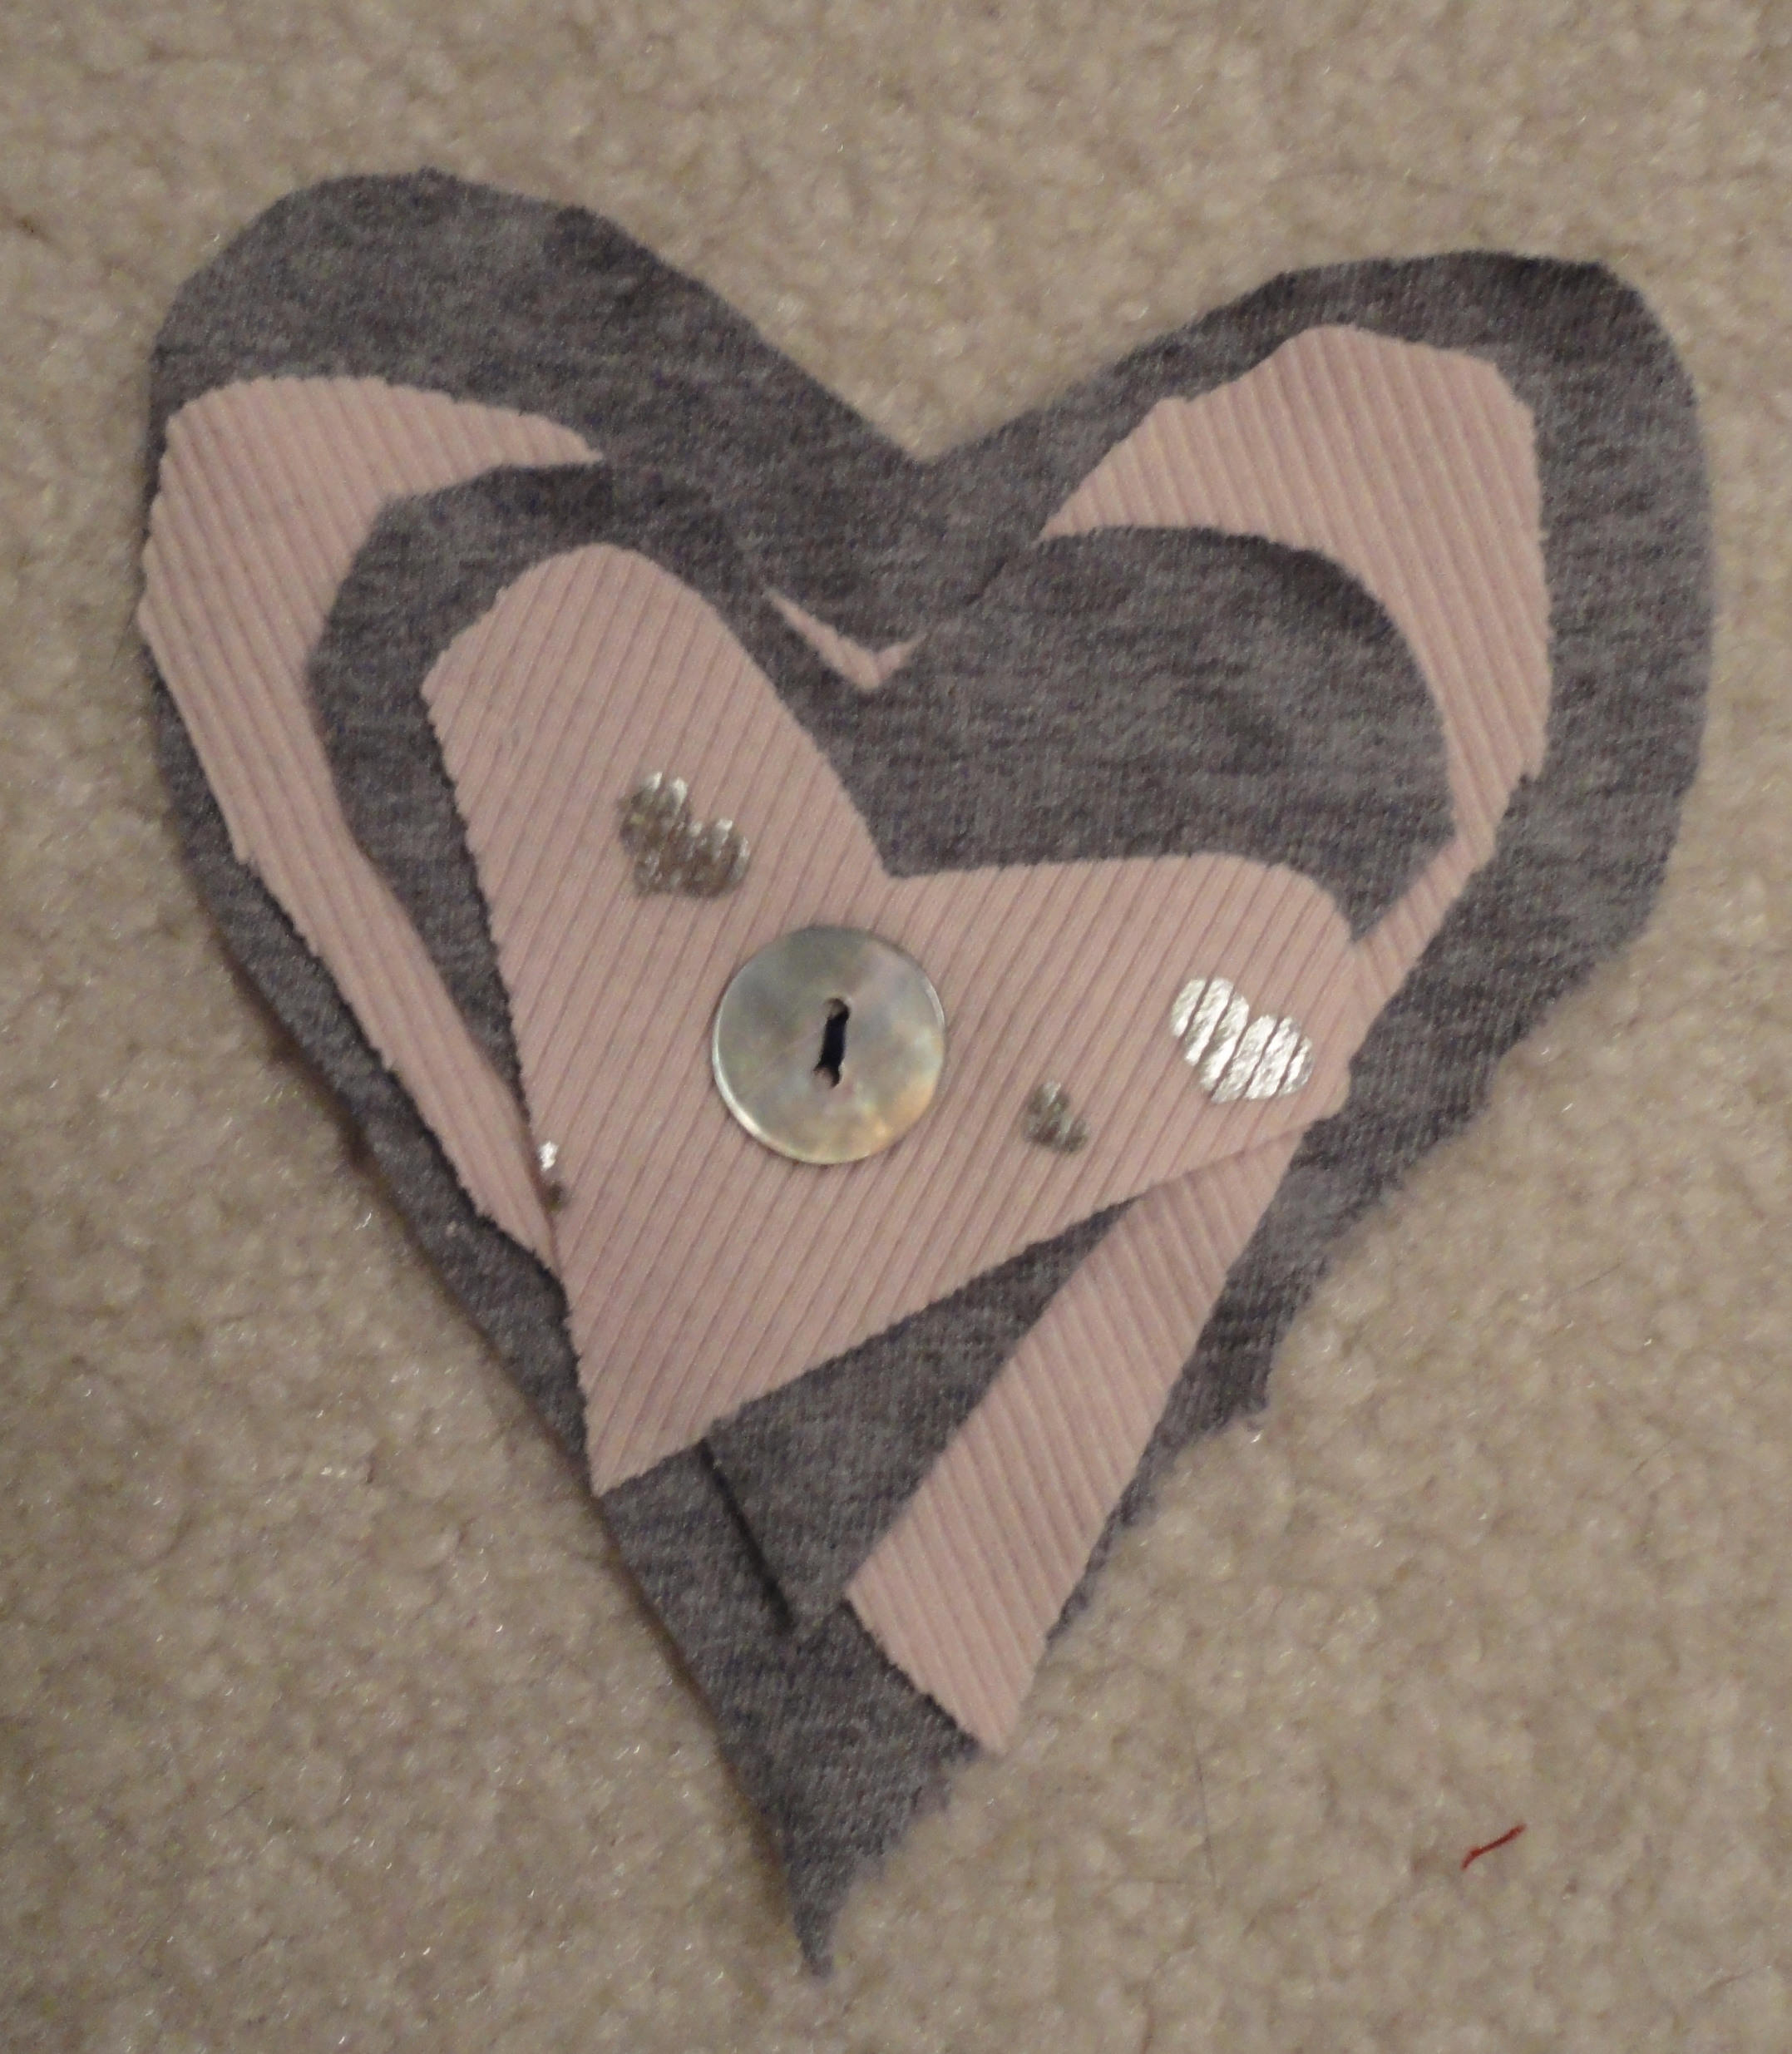
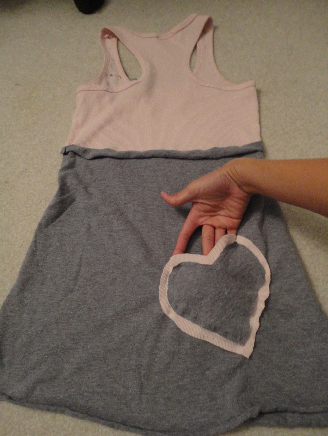
But, you see that giant hole in the front of the shirt? AHHH-inducing, I know. I wrung my hands and then got over it. :]

I was originally going to make a ruffled tank but failed miserably on the ruffle because I didn't measure the top half of the shirt [It was kind of impossible as my measuring tape has gone missing over a month ago!! *-.-] I cut the grey shirt across under the arm holes and the pink one around the middle after sewing the edges of the grey in an A-line so it would fit to the top portion. Then I sewed them together with the gaping hole at the back of the shirt.


In place of the ruffle, I decided to make something else to put on the front of the tank. I cut out several hearts from the leftover parts of the shirt and layered!


To cover up the rip, I cut out more hearts! I made it just large enough to cover the hole, but not too excessive. As I was pinning it into place, my sister walked into the room and said, "Whoa! That's so cool! Are you making a pocket?" Hm...not my original intention but sounds like an awesome idea. Thanks, kid sister :]


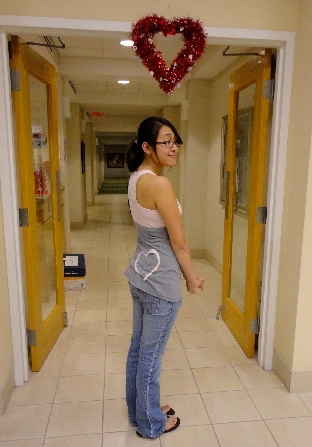
I volunteered tonight at a local hospice and it was still decorated for Valentine's day! Perfect :]


09 February 2011

Cue Scissors!

As I was perusing some DIY books at Barnes & Nobles, I came across a book called 99 ways to cut, sew, trim & tie your T-shirt into something special. I flipped through quickly and saw one that I clearly remembered seeing somewhere. So I ran to my laptop [a good 5 hours later when I got home] and checked me bookmarks. Lo and behold, I found it online! I thought it was cute, but the design flashed by too quickly so I only had a slight idea of how to implement it. I also thought it to be a bit too scandalous for me, but I knew I had a busy week and wouldn't have as much time to sew something like last week's kimono top. I checked the weather and saw that it would be a beautiful high of 75 and decided to whip out my scissors and an old T-shirt from my pile of scraps.


This was an old orchestra shirt of mine. I liked the design, but I hardly wore it so i deemed it suitable for my scissors. I folded it in half and traced what I would cut, making sure to cut straps while removing the entire image from the back.


Since the straps were super long, I trimmed them and used the excess to make rosettes from a tutorial I found a while back and then sewed them onto the front of the tank. It's been a while since I've hand sewn anything so it was the most time-consuming portion of making this tank top, but definitely well worth it.

27 January 2011

Maybe I'm a Prude...

...but I find a lot of dresses to be too short for my taste. Or are they just really long shirts? I really don't know, but I have this banded bottom shirt/dress/THING just hanging in my closet.


As many know, it's supposed to be worn like this…

Found here


…which I don't find it very flattering on my figure. Every time I've worn this, I hid the band to make it look like a loose shirt, but it rode up and constantly pulling at my clothes gets annoying fast. Since I like the neckline and how the fabric flows, I decided to remove, loosen and then reattach the entire band.


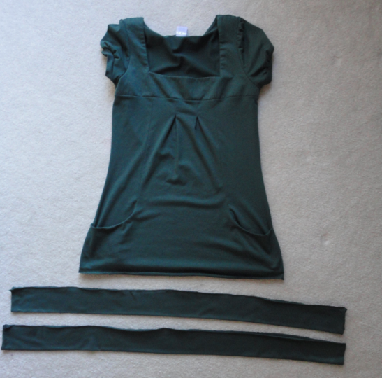
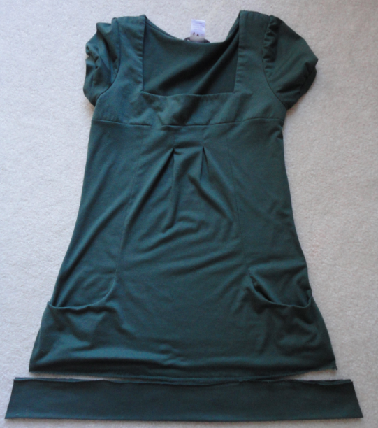
I cut the band in half and then shortened them to fit the bottom of the shirt. I've successfully replaced the ambiguous article of clothing into a definitive shirt!